2. Import Dataverse solution
We built ProvisionGenie by using Dataverse mostly for security reasons. We do not want to give users a way to bypass the canvas app and access data they shouldn't have access to. This concern was one of our main reasons to not use SharePoint lists to log requests as you would need to share the list with every user. That means that they could create new items, manipulate and even delete data. For more information, head over to Architecture Decisions.
In Dataverse, we can setup security roles to prevent this and we created two security roles ProvisionGenie Admin and ProvisionGenie User as part of the solution that you will import in the next steps.
You will need to create an application user and assign the security roles to it.
-
In case you don't already have an environment that you want to use for ProvisionGenie, follow these steps to create a new environment with a database. Important to know: a Dataverse for Teams environment is not enough - for reference read our Architecture Decisions
-
Import our solution with
- Dataverse tables to log the requests
- ProvisionGenie canvas app as the UI
- Security role
ProvisionGenie Admin - Security role
Provision Genie User
from here: ProvisionGenie Solution
In case this is the first time you import a solution, follow the steps described here: Import a Power Platform solution - It can take a little while:

Once this step is completed, select the imported solution and check that it looks like this:
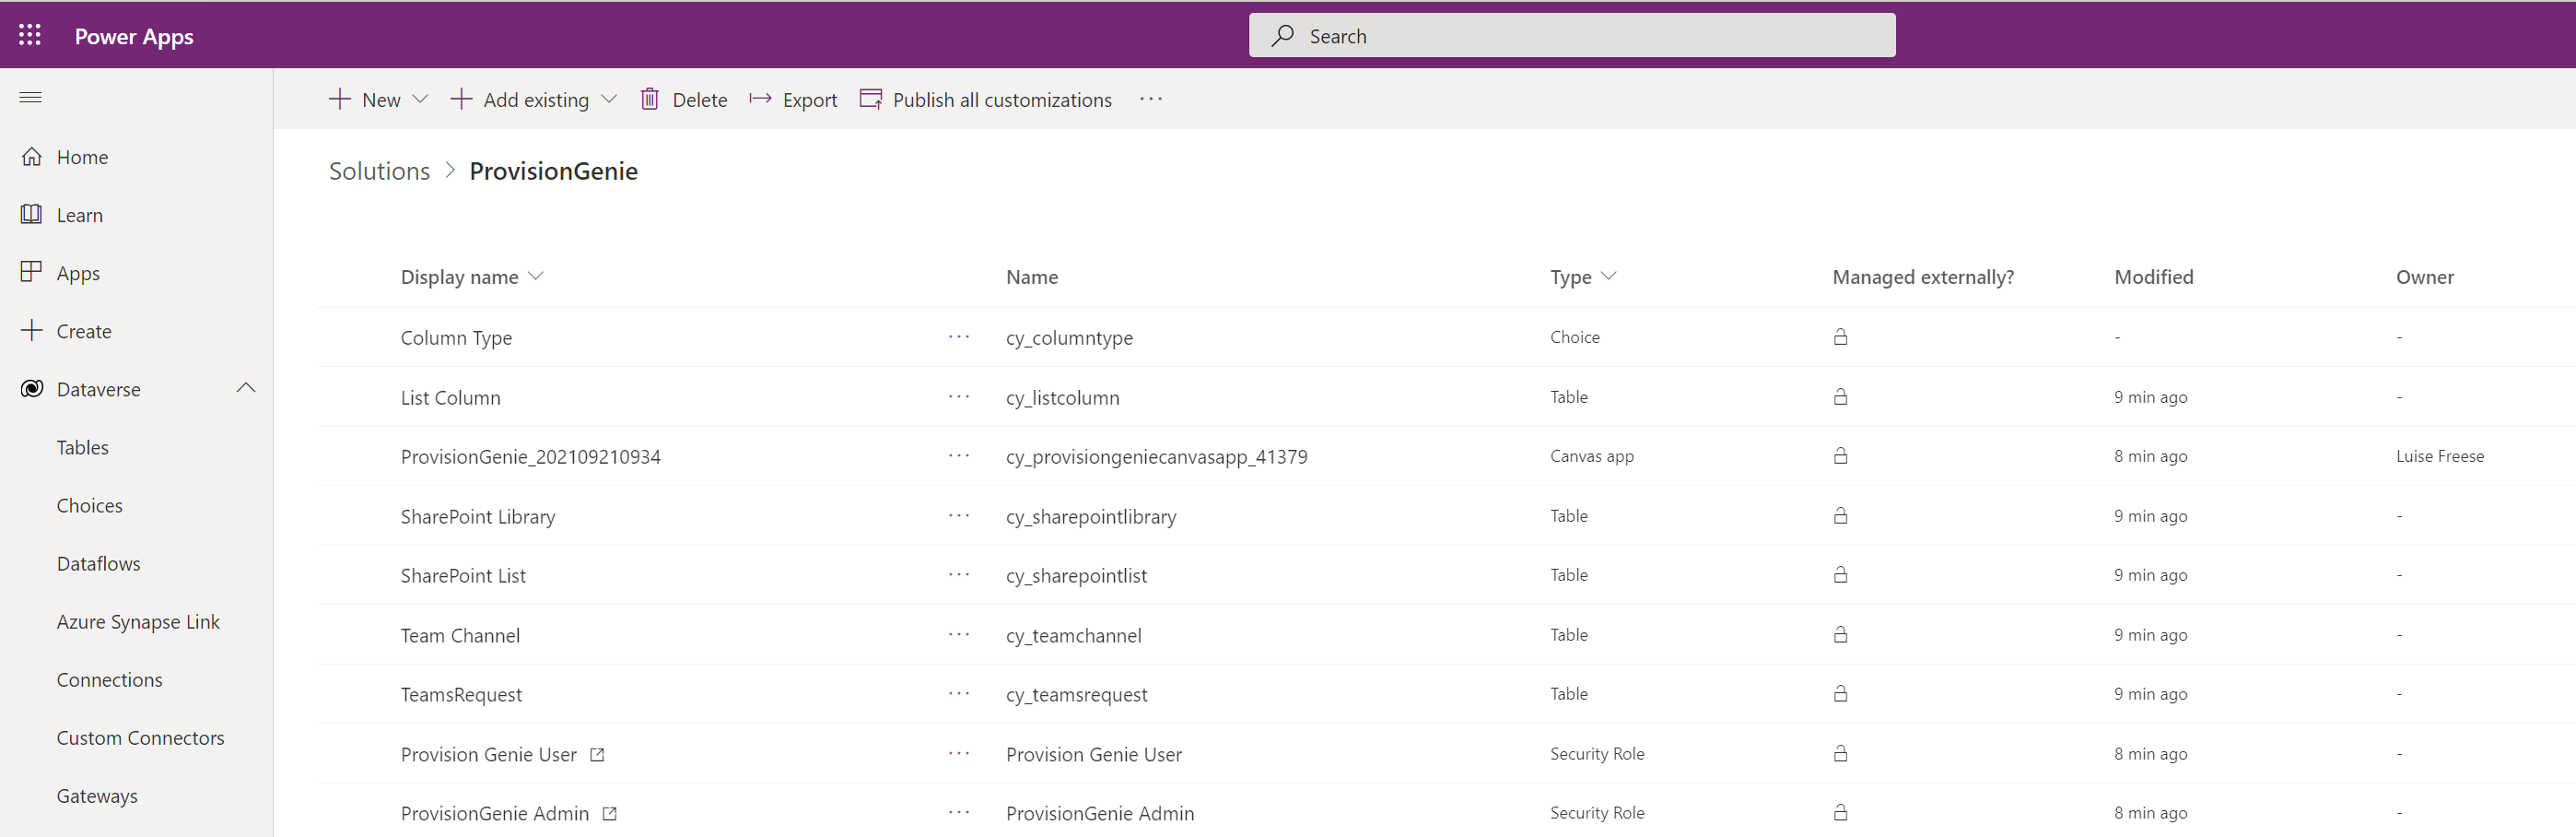
-
Import the localization files to the Localization table
- Browse to the solution
- Browse to the Localization table
- Select the Data tab
- Select Get Data --> Get data from Excel
- Select Upload
- Select one of the localization Excel files - you can upload as many languages as you want - either repeat the processs or use the consolidated file
all-languages. - Select Map columns
- Map
- key to
key - language to
language - value to
value - valuelongtext to
valuelongtext
- key to
- Select Save changes
-
Repeat with as many languages as you like
-
Add languages to the Supported Languages table, you may choose from
-
Dansk
- Français
- 日本語
- Deutsch
- English
- Italiano
- Español
- Nederlands
- Norsk
- Polski
- Suomea
- Svenska
- Portuguese
This is then what users of the app can choose from.
-
Create an application user
- Open the Power Platform admin center
- Select the environment that you want to use for ProvisionGenie
- Select Settings
- Select Users + permissions
- Select application users
- Select New app user
- Select Add an app
- Select the ProvisionGenieApp (it's the app that you registered with the script in the previous step)
- Select Add
-
Assign the security role
Basic userand security roleProvisionGenie Admin- Select the Business unit dropdown menu
- Select the business unit of your choice
- Select the pen icon nect to Security roles
- Select
Basic userandProvisionGenie Admin - Select Save
-
Assign the security roles
Basic userandProvision Genie Userto all users that will be able to use ProvisionGenie for team creation.- You can assign the roles to individual people using the steps explained here
-
Alternatively, you can bulk assign roles to people by following the next steps:
-
Go to the Power Platform admin center and select your environment (step 1 and 2 in the guide above)
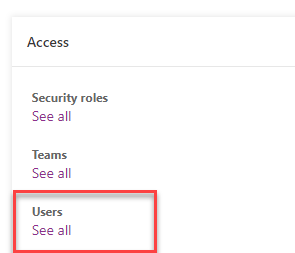
-
In the Access pane, select See all under Users
- Select Manage users in Dynamics 365 in the action bar at the top
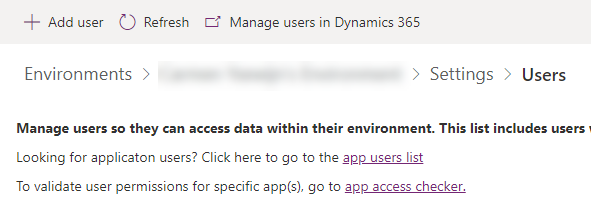
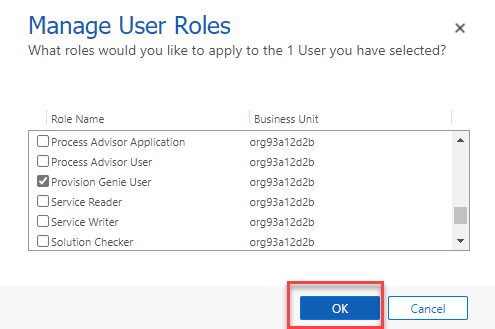
- Select the users you want to assign the security role to, and afterwards select Manage roles in the action bar
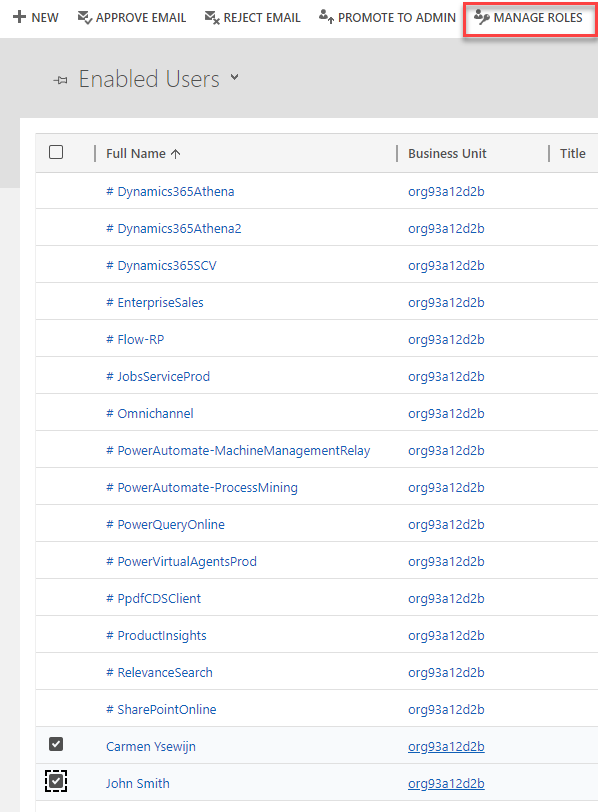
- In the list with security roles, select Provision Genie user and then OK
-
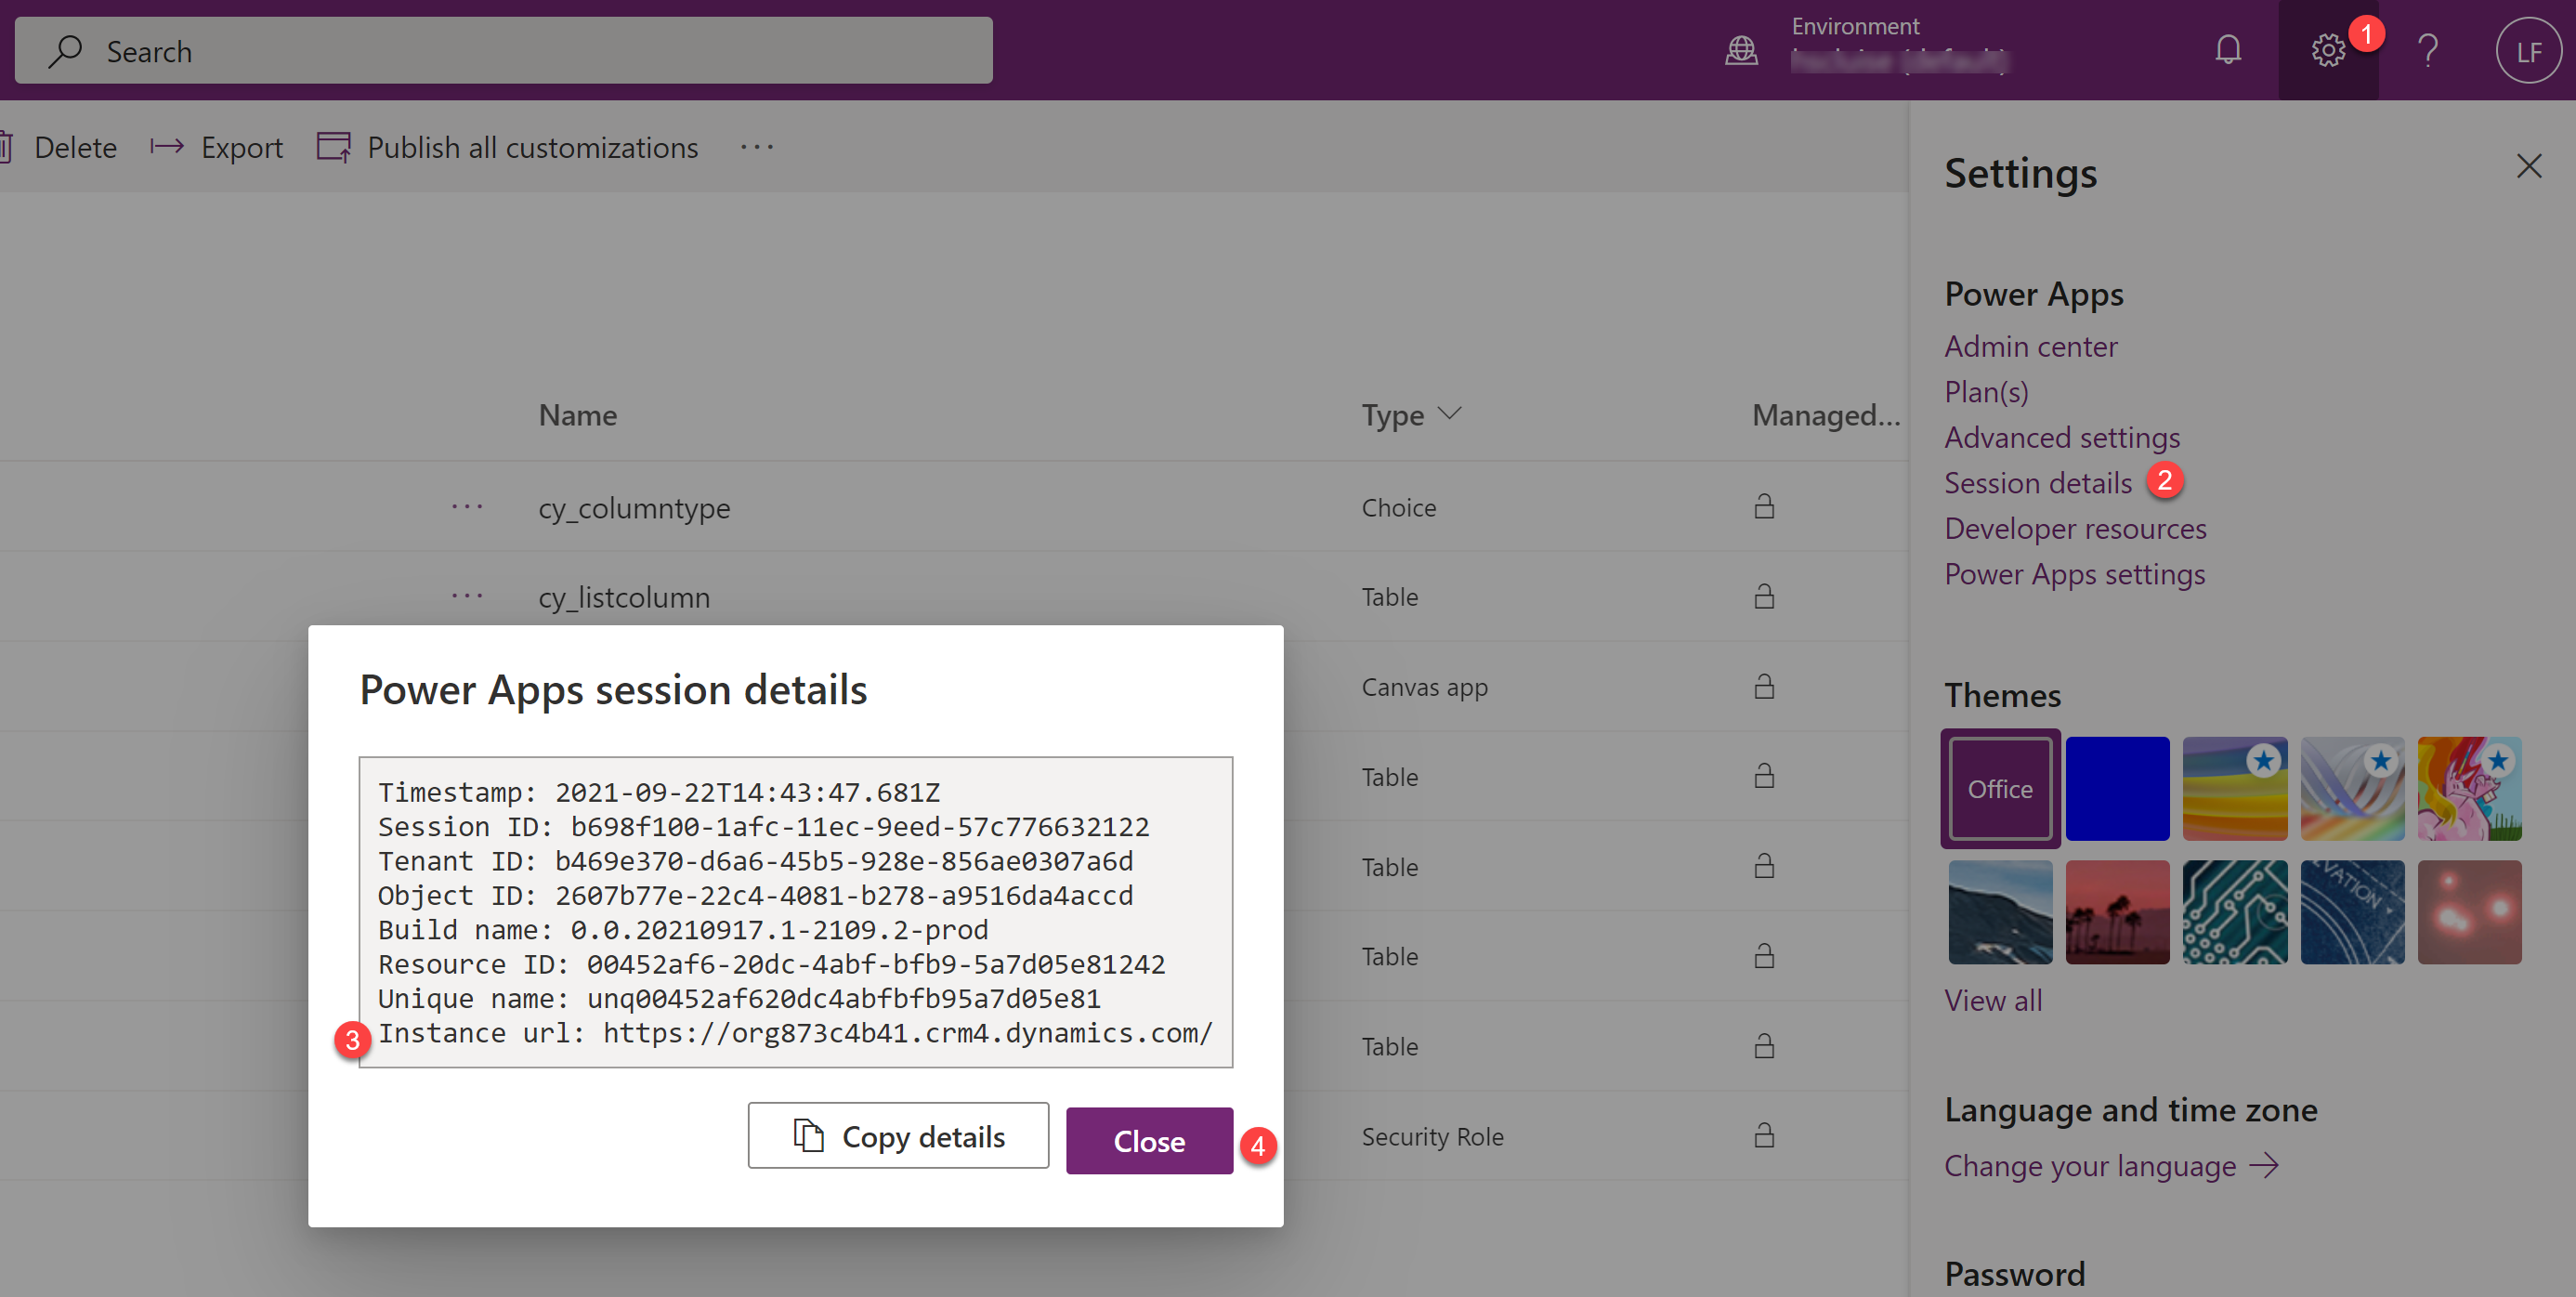
You need to obtain the Environment ID for a later step:
- Open make.powerapps.com
- Select the Settings gear
- Select Session details
- The value we need here is the Instance URL from make.powerapps.com, save it here: copied values